
Did you know that nearly 60% of car seats are installed incorrectly? This statistic highlights the importance of understanding proper installation techniques for your baby’s car seat. Ensuring a secure fit not only enhances safety but also makes for a more comfortable ride. By utilizing household items and effective strategies, you can considerably reduce the risk of common mistakes. Let’s explore practical remedies and prevention strategies that can help you achieve the perfect installation.
Understanding Car Seat Types and Their Installation Requirements

When it comes to guaranteeing your baby’s safety in the car, understanding the different types of car seats and their specific installation requirements is essential. There are three main car seat types: infant seats, convertible seats, and booster seats. Infant seats are rear-facing and designed for newborns and smaller babies, while convertible seats can switch from rear-facing to forward-facing as your child grows. Booster seats elevate older children so that the seat belt fits properly. Each type has unique installation requirements, often involving either a seat belt or LATCH system. Always consult the manufacturer’s instructions for your specific car seat model to verify proper installation, as this can greatly affect your child’s safety during travel.
The Importance of a Proper Fit: Measuring Your Vehicle
A proper fit between your vehicle and your baby’s car seat is essential for ensuring safety during travel. Start by measuring your vehicle dimensions, focusing on seat width, depth, and the angle of the back seat. This fit assessment helps you determine the best car seat choice for your vehicle. Remember, a snug fit prevents the car seat from moving excessively, reducing the risk of injury in an accident. Check your owner’s manual for specific guidelines on installing a car seat in your model. If you find the fit isn’t ideal, consider different seating positions or a different car seat model that accommodates your vehicle’s layout better. Prioritizing this fit will give you peace of mind while on the road.
Household Items for a Secure Installation
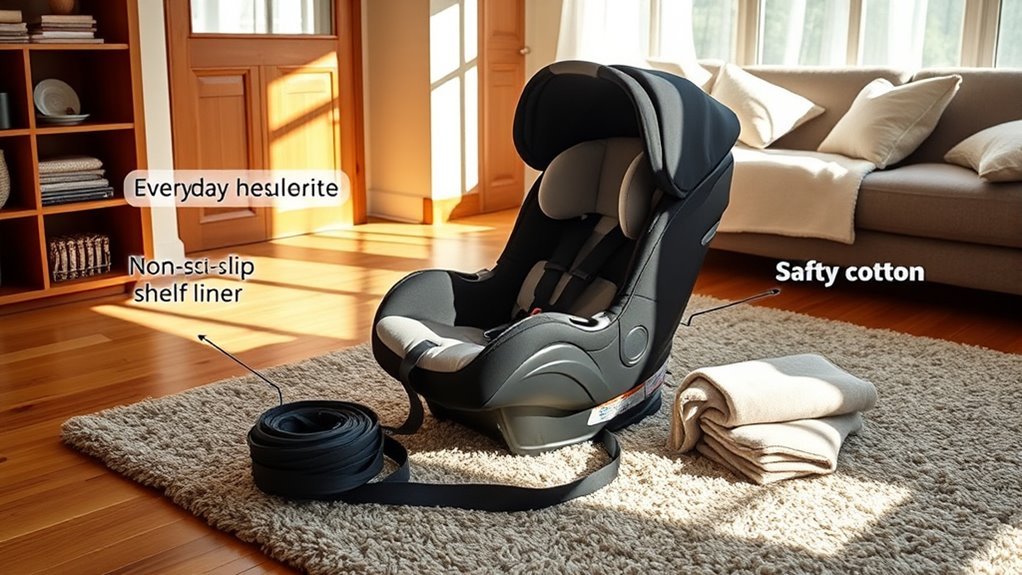
Several household items can assist you in achieving a secure installation for your baby’s car seat. With a few clever household hacks and DIY tools, you can enhance the stability of the seat. Here are some items to take into account:
- Towels: Use rolled towels to fill gaps between the car seat and the vehicle seat, ensuring a snug fit.
- Pool noodles: Cut a pool noodle to size for additional elevation and support beneath the car seat.
- Rubber mats: Place a rubber mat underneath the car seat to prevent slipping and provide extra grip.
- Duct tape: Use duct tape to secure the seat belt in place, giving you that extra peace of mind.
These simple tools can make a big difference in ensuring your baby’s safety on the road.
Techniques for Tensioning the Seatbelt
Achieving a secure installation with household items sets the foundation for your baby’s car seat, but the next step is properly tensioning the seatbelt. To guarantee maximum safety, start by pulling the seatbelt all the way out and then feeding it through the car seat’s designated path. Once in place, use tension techniques to tighten it. A good method involves leaning your body weight onto the car seat while you pull the seatbelt tight. After adjusting, check for slack by giving the seat a firm shake; it shouldn’t move more than an inch. Finally, double-check the seatbelt adjustment to verify it’s locked in place. This way, you’ll provide a safe and secure ride for your little one.
Using the LATCH System Effectively

When using the LATCH system, it’s essential to understand its basic components and how they work together for secure installation. Many parents make common mistakes, like not using the correct anchors or failing to check the tightness of the installation. By familiarizing yourself with these aspects, you can guarantee your baby’s car seat is installed safely and correctly.
LATCH System Basics
Though installing a car seat can seem intimidating, using the LATCH (Lower Anchors and Tethers for Children) system makes the process much simpler and safer. Here’s how to use it effectively:
- Locate the Lower Anchors: These are usually found between the vehicle’s seat cushions.
- Attach the Car Seat: Clip the car seat’s connectors onto the anchors until you hear a click.
- Use the Tether: For forward-facing seats, attach the tether strap to the designated anchor point in your vehicle.
- Check for Tightness: Verify the car seat doesn’t move more than an inch side-to-side.
While the latch system advantages include easier installation, its limitations, like weight restrictions, are important to keep in mind for safety.
Common Installation Mistakes
Even with the advantages of the LATCH system, many parents still make common installation mistakes that can compromise safety. One frequent error is not verifying the straps are tight enough; loose straps can lead to dangerous movement in a crash. Another mistake is not using the correct lower anchors or top tether, which can cause installation errors and reduce effectiveness. It’s also important not to exceed the weight limits specified by the car seat manufacturer, as this can raise safety concerns. Additionally, failing to check for vehicle compatibility can lead to improper installation. Always double-check your work, and consider getting a professional inspection to confirm your child’s car seat is securely and correctly installed. Safety is paramount!
Tips for Checking and Adjusting Harness Straps
When it comes to your baby’s safety, ensuring the harness straps are properly placed and adjusted is essential. You’ll want to check that the straps are at the right height and securely tightened, allowing just enough room to fit a finger between the strap and your baby. As your little one grows, don’t forget to adjust the harness to keep them snug and secure.
Proper Harness Placement
Making certain your baby’s harness is properly placed is essential for their safety during car travel. A well-adjusted harness can prevent injuries in case of an accident. Here are some tips for checking and adjusting harness straps:
- Position the straps: Make sure the harness straps are at or just above your baby’s shoulders for proper harness safety.
- Check the buckle: The buckle should be positioned at your baby’s hips, making sure it’s secure but comfortable.
- Adjust the straps: Use the harness adjustment mechanism to eliminate slack, but avoid over-tightening.
- Regular checks: Regularly inspect the harness placement as your baby grows, keeping harness adjustment in mind.
Following these steps can help make certain your baby is safe and secure in their car seat.
Tightness Verification Techniques
A secure harness is essential for your baby’s safety, so it’s important to confirm its tightness regularly. To perform a proper tightness check, place two fingers flat between the harness straps and your baby’s chest. If you can fit more than two fingers, it’s too loose. For installation verification, make sure the harness straps are properly threaded through the slots at or below your baby’s shoulders, depending on age and weight. After adjusting the straps, pull the harness adjuster strap to tighten. Always double-check that the buckle is secure and that the chest clip is positioned at armpit level. By routinely performing these checks, you confirm a snug fit that promotes your little one’s safety during every journey.
Adjusting for Growth
As your baby grows, adjusting the harness straps becomes necessary to maintain a proper fit for safety. Regularly check the harness as your little one reaches various growth milestones. Here are some adjustment techniques to guarantee a snug fit:
- Check Strap Position: Verify the straps are at or just below your baby’s shoulders for rear-facing seats.
- Loosen or Tighten Straps: If the straps are too loose or tight, use the adjustment mechanism to modify the fit.
- Inspect the Buckle: Make sure the buckle is positioned at your baby’s waist level, securing them without pinching.
- Test for Tightness: After adjustments, pull the harness to confirm it’s snug but not uncomfortable.
Regular adjustments will keep your baby safe and secure on every journey!
Common Mistakes to Avoid During Installation
While installing a car seat might seem straightforward, many parents unknowingly make common mistakes that can compromise their child’s safety. One of the biggest installation errors is failing to read the car seat manual and vehicle owner’s manual together. Each car and car seat may have specific requirements you need to follow. Additionally, not securing the seat tightly enough can lead to dangerous movement during a crash. Verify you can’t wiggle the seat more than an inch side-to-side or front-to-back. Another mistake is using the wrong harness slots; they should be at or below your child’s shoulders for rear-facing and at or above for forward-facing. Avoiding these safety concerns can make all the difference in your child’s protection on the road.
Resources for Additional Support and Guidance
How can you assure your car seat installation is as safe as possible? Utilizing available resources can enhance your confidence and guarantee car seat safety. Here are four key options to evaluate:
- Installation Workshops: Look for local workshops offered by hospitals or community organizations where experts guide you through proper installation techniques.
- Online Resources: Websites like Safe Kids provide detailed guides and videos on installation and safety.
- Consulting Certified Technicians: Reach out to certified child passenger safety technicians who can offer personalized assistance.
- Manufacturer Guidelines: Always review the car seat manual for specific instructions related to your model.
These resources can empower you to make informed choices for your little one’s safety on the road.